2014-11-17

Level Up - Android: How to Root Nexus 4 on Android Lollipop 5.0 (Easy)

In my last post, I explained how to flash Android Lollipop 5.0 system image to Nexus 4. After I did that to my own device, the next thing I did was root it, using fewer steps than that other post. ;)

Rooted Nexus 4 on Android Lollipop 5.0

This will be a quick walk-through for the steps I took to root my Nexus 4. These directions are extended from the site with the great "CF-Auto-Root" tool that we will use.

Prerequisites:

  1. I assume that your bootloader is unlocked. If not, please see my previous post for how to unlock the bootloader.
  2. I assume you have `adb` added to your environment variable PATH. If not, please see my previous post.
  3. I assume you are running Windows, but Max and Linux users will be able to use these general directions also.


Walk-though for rooting the Nexus 4:


  1. Download the LGE Nexus 4 Android 5.0 file from http://autoroot.chainfire.eu/#fastboot
  2. Unzip the file. You should see two folders and three files in that folder, one should be called "root-windows.bat".
  3. Connect your Nexus 4 device to computer, then run `adb reboot-bootloader` in your computer's terminal. This will bring your device to the "fastboot" mode.
  4. Make sure again that your bootloader is unlocked before proceeding (label found at bottom-left).
  5. Open your computer's terminal to where you downloaded and unzipped the file, and run `root-windows` (Mac and Linux users use your own variant). You should see a red Android if the process is working.

Congrats! When the script is done, it will reboot your device and your Nexus 4 will be rooted!

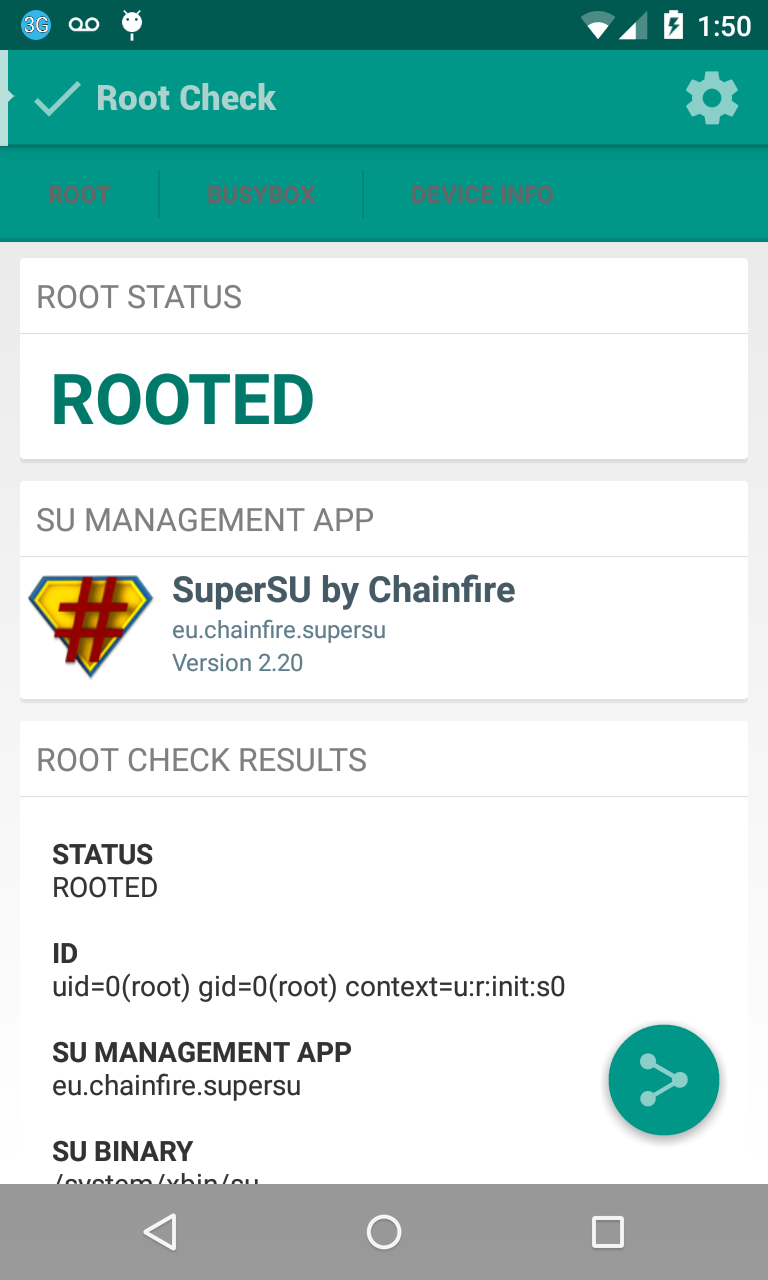
This process will install the Root Check app so that you can verify a successful root.

More info:
  • I didn't have any trouble using these directions for rooting my Nexus 4, so if you have any troubles with the steps, then I'll try to help in my limited capacity.
  • Previously, when I was running Android 4.4 rooted, I used ES File Explorer to browse the root directories. But, it didn't work in Android 5.0, so instead I am now using the Root Browser app successfully.

~ Danial Goodwin ~


Level Up - Android: How to Flash (Upgrade) Nexus 4 to Android Lollipop 5.0 (Easy)

If you have a Nexus 4, then you can have Android Lollipop now! Google recently released the factory image, and I'm now successfully running it (with root, which will be explained in a later post).

Nexus 4 running Android Lollipop 5.0
This will be a short walk-through because I assume you already have the tools needed, but just need the steps to get the flash done. If you have any questions, then please write a comment and I will update as necessary.

  1. Download Android Lollipop 5.0 factory image: https://developers.google.com/android/nexus/images#occam
  2. Uncompress the file, possibly twice. I used 7-zip. You should see six files there, including a zip, which you do not have to unzip.
  3. Make sure `adb` is in your PATH environment variable, which can be found in %android-sdk%/platform-tools/. Also, you will need `fastboot.exe` from that same folder in your PATH. (I assume you already have the Android SDK and you know what I mean by "Advanced system settings"->Environment Variables->PATH.)
  4. Connect your Nexus 4 device to computer, then run `adb reboot-bootloader` in your computer's terminal. This will bring your device to the "fastboot" mode.
  5. At the very bottom-left, you should be able to see whether your bootloader is locked or unlocked. It must be unlocked to flash a new system image. If unlocked, you're good, go to the next step. If locked, then run `fastboot oem unlock`. WARNING: Unlocking will erase all data.
  6. Open your computer's terminal to where you downloaded and uncompressed the files, and run `flash-all`. That command will run the "flash-all.bat" script which will setup the new system image for you!

Congrats! When the script is done, it will reboot your device and Lollipop will be running. It may take a bit for it to boot the first time.

More info: There sure is a lot more information you could read about this entire process, but that's not what this post is for. These are the minimal instructions (with appropriate warning) for most people wanting to do this. If anybody has some good resources to share, then please add them to the comments.

Now, are you ready to root your Nexus 4?

:)
~ Danial Goodwin ~


2014-11-13

Level Up - Java: What is Vararg?

I like to remember vararg as "variable-length arguments". You may see them parameterized as "foo(Object... objects)" or "foo(int... ints)" or maybe "main(String... args)". The triple-dot signifies the vararg, and the method that has them uses it as an array.

Example code:

/** Returns input as a comma-separated list. If input if null
  * or empty, then this returns an empty string. */
public static String convertToString(Object... objects) {
    if (objects == null || objects.length == 0) { return ""; }
    StringBuilder sb = new StringBuilder();
    for (Object object : objects) {
        sb.append(object.toString()).append(", ");
    }
   return sb.substring(0, sb.length() - 2).